
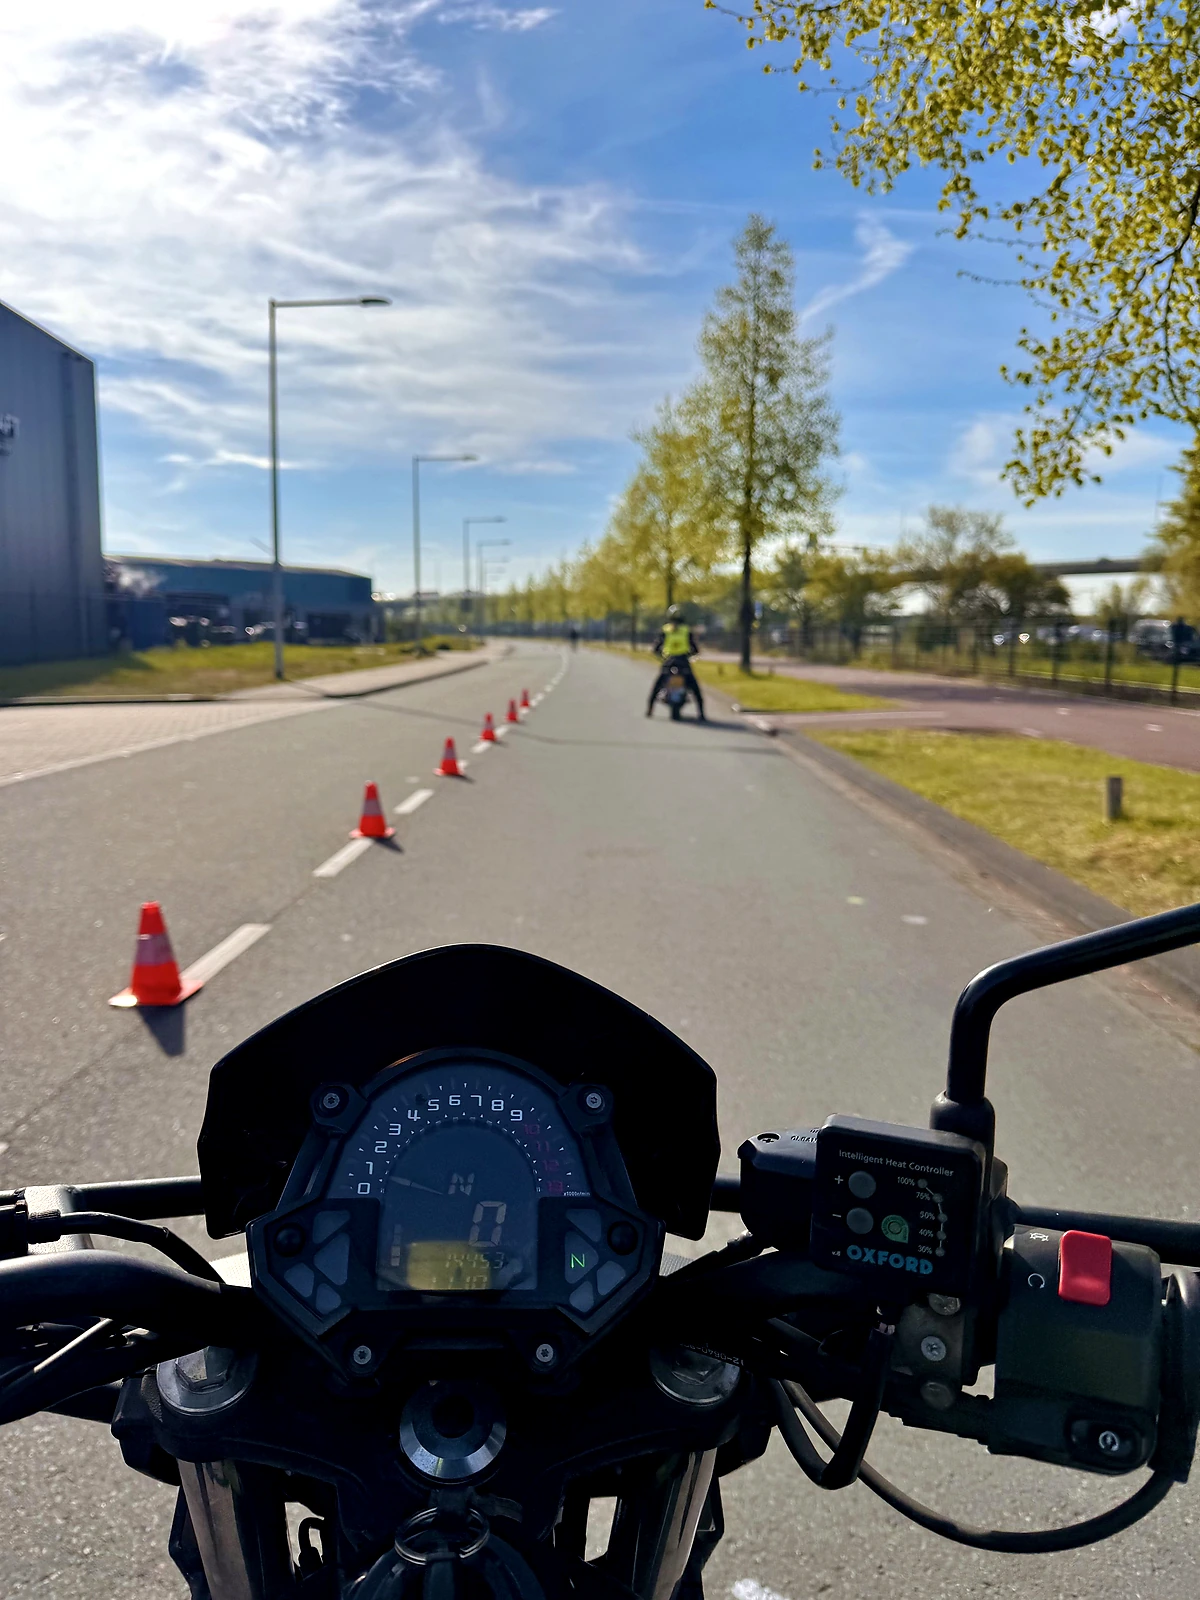
Balance is one of the first things every beginner rider worries about.
At speed, the motorcycle feels more stable. But when you slow down, everything changes. The bike feels heavier. Small movements feel bigger. Your eyes drop. Your clutch hand gets tense. Your feet want to come down early.
That is normal.
Motorcycle balance is not about being physically strong. It is not about forcing the bike upright. It is about smooth control, good vision, calm body position, and understanding how the motorcycle responds at slow speed.
The good news is that balance can be trained.
You do not need complicated equipment. You do not need a training school every weekend. You do not need to practice for hours. A quiet empty space, full riding gear, and 20–30 minutes of focused practice can make a real difference.
This guide covers simple motorcycle balance exercises for beginners. These drills will help you feel more confident with slow riding, U-turns, circles, figure-eights, starts, stops, and everyday control.
If you have not read it yet, this article pairs perfectly with Motorcycle Low-Speed Control Tips: Balance, U-Turns & Slow Riding.
Quick Answer
How Can Beginners Improve Motorcycle Balance?
Beginners can improve motorcycle balance by practicing slow straight-line riding, smooth starts and stops, wide circles, figure-eights, U-turns, clutch friction zone control, rear brake control, and head-turn exercises in a safe empty area. The key is to keep your eyes up, use smooth inputs, relax your arms, and practice consistently.
Balance improves through repetition, not force.
Before You Practice: Choose the Right Place
Do not practice balance drills in traffic.
Find a safe and quiet area where you can make mistakes without pressure. An empty parking lot, quiet industrial area, or private open space with permission is ideal.
Before practicing, make sure:
- You are wearing full protective gear
- The ground is clean and dry
- There is enough open space
- There are no pedestrians, cyclists, or cars nearby
- Your tires are properly inflated
- Your motorcycle feels mechanically normal
- You are mentally fresh enough to focus
Do not practice when you are exhausted, angry, rushed, or distracted.
Balance training requires calm attention. If you are already mentally overloaded, you are more likely to grip the bars too hard, look down, or get frustrated.
Keep the session short. Around 20–30 minutes is enough.
The goal is not to punish yourself.
The goal is to build confidence slowly.
Exercise 1: Slow Straight-Line Riding
This is one of the best beginner motorcycle balance exercises.
Find a straight line in an empty area. You can use a painted parking line, a crack in the ground, or simply imagine a straight path.
Ride as slowly as you can while keeping both feet on the pegs.
Focus on:
- Eyes up
- Light grip
- Smooth clutch
- Slight steady throttle
- Gentle rear brake
- Relaxed shoulders
Do not stare at the front wheel. Look ahead.
If the bike wobbles slightly, do not panic. Small wobbles are part of learning. Keep your eyes up and continue.
This exercise teaches you how much control you have at walking pace. It also helps you understand the relationship between clutch, throttle, rear brake, and balance.
If you struggle with this, return to How to Brake Safely on a Motorcycle, especially the part about using brakes smoothly and progressively.
Exercise 2: Friction Zone Control
The clutch friction zone is where slow-speed balance becomes easier.
The friction zone is the point where the clutch starts sending power to the rear wheel, but is not fully released.
To practice:
- Start in first gear.
- Keep your right hand steady with a little throttle.
- Slowly release the clutch until the bike begins to pull.
- Hold it there.
- Pull the clutch in slightly to reduce drive.
- Release it slightly to increase drive.
Do this slowly and smoothly.
You are teaching your left hand to control power gently.
Many beginners either release the clutch too quickly or pull it fully in whenever they feel nervous. Both can make the bike unstable.
At low speed, you often need gentle drive to keep the motorcycle balanced.
Think of the clutch as your balance control tool.
Not on-off.
Fine control.
Exercise 3: Smooth Starts and Stops
A lot of balance problems happen during starts and stops.
The rider rushes the start, wobbles, looks down, grabs the brake, or puts both feet down suddenly.
Practice smooth starts first.
Start from a complete stop. Look ahead. Find the friction zone. Add gentle throttle. Release the clutch smoothly and move away without rushing.
Then practice smooth stops.
Roll off gently. Brake progressively. Pull the clutch in near the end of the stop. Keep the handlebars straight. Put one foot down calmly.
Focus on making the whole movement quiet and controlled.
A good start should not feel like a launch.
A good stop should not feel like a collapse.
Practice this until starting and stopping feel boring.
Boring is good.
Boring means controlled.
Exercise 4: Wide Circles
Once straight-line balance feels better, practice wide circles.
Start with a large circle. Do not make it tight at first.
Ride slowly around the circle while focusing on:
- Looking through the circle
- Keeping your head turned
- Using smooth clutch control
- Keeping a little throttle
- Using gentle rear brake if needed
- Relaxing your arms
Practice both directions.
Most riders have one side that feels easier. That is normal. Do not get frustrated if one side feels awkward.
The goal is not to drag pegs or make the smallest circle possible.
The goal is smooth balance.
As you improve, make the circle slightly smaller.
Small progress is still progress.
Motorcycle Vision Techniques: How to Look Through the Corner Correctly, because your eyes and head position guide the motorcycle.
Exercise 5: Head-Turn Practice
Many slow-speed mistakes happen because the rider does not turn their head enough.
The motorcycle may be turning, but the rider’s head and eyes are still pointed forward or down at the ground.
For this exercise, ride in a wide circle and exaggerate your head turn.
If you are turning left, turn your head left and look toward where you want the bike to go. If you are turning right, turn your head right.
Do not just move your eyes.
Turn your head.
This helps your shoulders, arms, and body follow the direction of travel. The bike feels less forced because your body gives it clearer direction.
A simple reminder:
Look first. Turn second. Correct less.
If you look late, you correct late.
If you look early, the turn becomes smoother.
Exercise 6: Large Figure-Eights
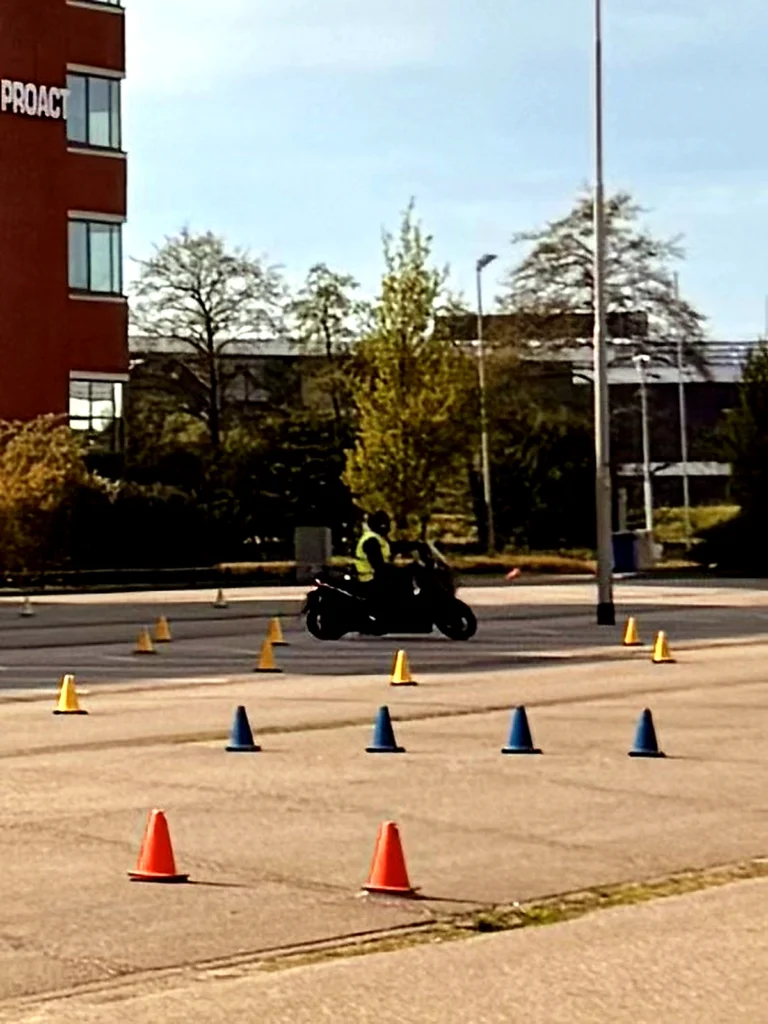
Figure-eights are one of the most useful motorcycle balance exercises.
They combine left turns, right turns, clutch control, rear brake control, vision, and direction changes.
Start with a large figure-eight.
Do not make it tight.
The focus is smoothness.
As you move through the first circle, look ahead to the next turn. Before changing direction, turn your head toward the next exit. Let your eyes lead the movement.
Focus on:
- Smooth clutch
- Steady throttle
- Rear brake control
- Head turn
- Relaxed arms
- Calm breathing
If the figure-eight feels messy, make it bigger.
There is no shame in using more space.
Tight figure-eights come later.
Good technique comes first.
Exercise 7: Controlled U-Turns
U-turns are one of the biggest confidence tests for beginner riders.
They are also one of the most useful exercises.
Start with a wide U-turn. Use as much space as you need.
Before the turn:
- Slow down early
- Check your surroundings
- Look where you want to finish
- Set gentle throttle
- Find the friction zone
- Cover the rear brake
- Relax your upper body
During the turn:
- Turn your head fully
- Look at the exit
- Keep smooth drive
- Use rear brake gently
- Avoid grabbing the front brake
- Keep breathing
Do not stare at the curb, the road edge, or the ground.
That is how target fixation begins.
If you look at the place you are afraid of hitting, the bike may drift toward it. If you look at the exit, your body has a better chance of guiding the motorcycle there.
Read : How to Avoid Target Fixation While Riding
Exercise 8: Cone Weaving
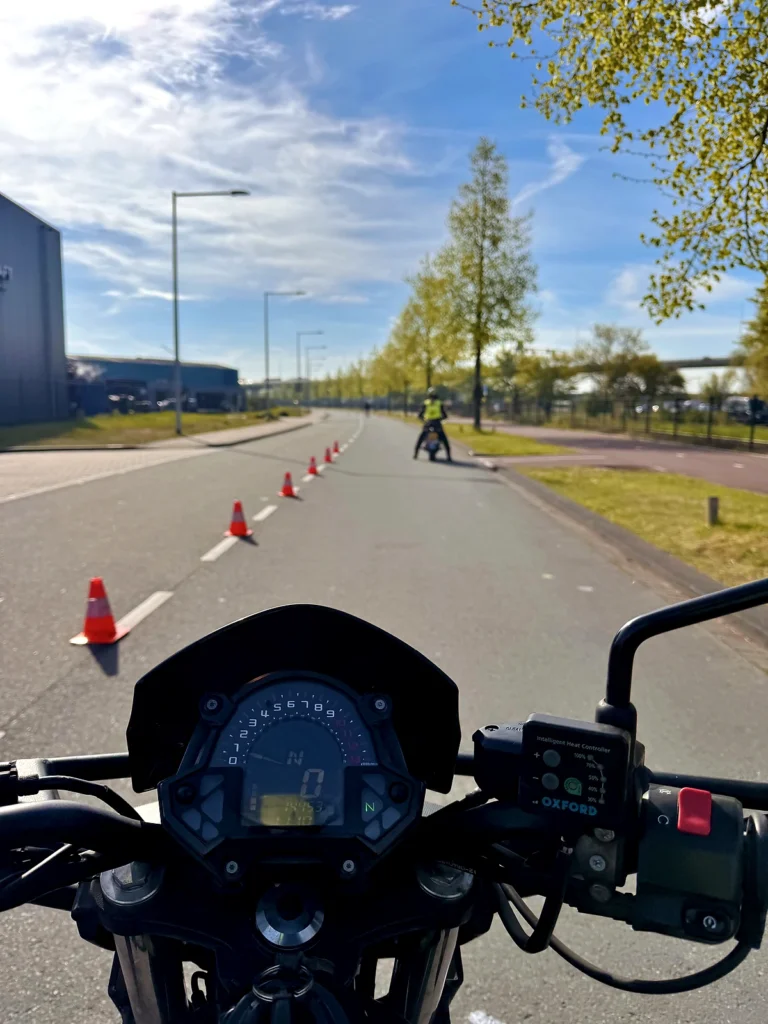
You do not need professional cones.
You can use small cones, water bottles, or safe markers.
Place them far apart at first. Ride slowly between them.
Focus on smooth direction changes.
Do not rush. Do not throw the bike around. Do not stare at the cone directly in front of you.
Look ahead to the next gap.
Your eyes should always be one step ahead of the motorcycle.
As your control improves, bring the markers slightly closer together.
Cone weaving helps with:
- Steering control
- Vision
- Balance
- Clutch control
- Relaxation
- Direction changes
- Slow traffic confidence
This exercise is especially useful for city riding, where you often need to move smoothly around small obstacles, parked vehicles, cyclists, and tight spaces.
For real-world applications, Riding in Heavy Traffic: Safety Tips for Urban Motorcyclists
Exercise 9: Rear Brake Stability Drill
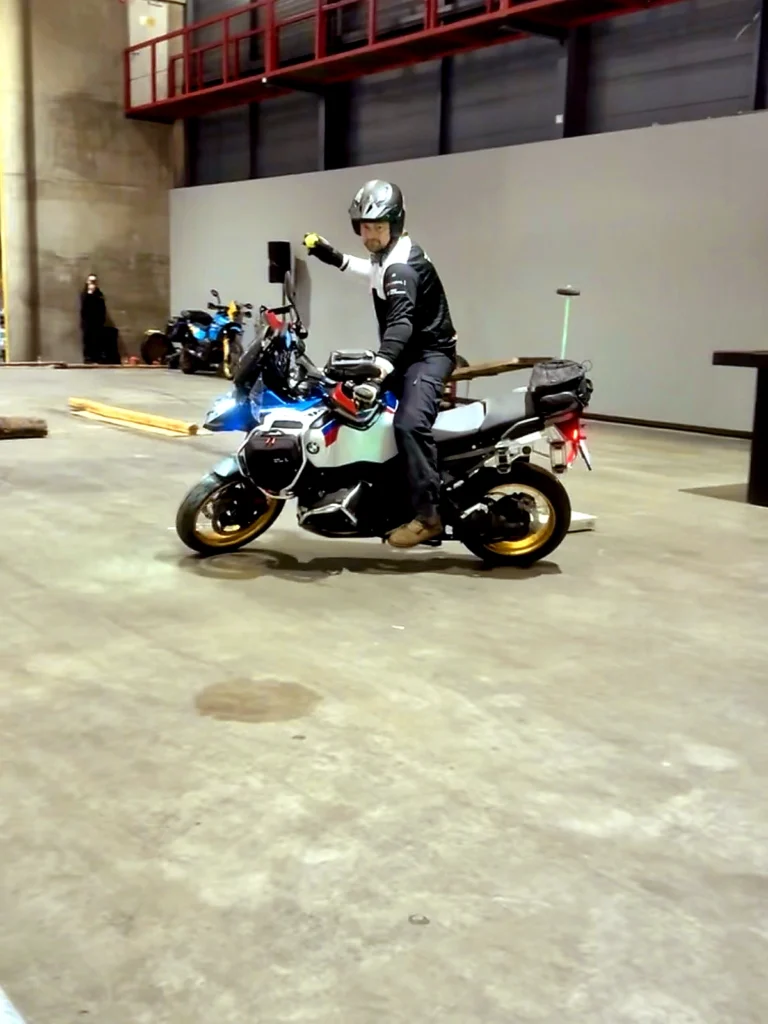
The rear brake is one of your best tools for slow-speed balance.
In an empty area, ride slowly in a straight line. Keep a little throttle and stay in the friction zone. Then apply gentle rear brake pressure.
Notice how the bike feels more controlled.
Do not press hard.
This is not emergency braking.
This is stability control.
Try the same thing in a wide circle. Keep your head up, throttle steady, clutch smooth, and rear brake light.
This teaches you how the rear brake can help manage speed without upsetting the motorcycle.
At slow speed, especially with the handlebars turned, sudden front brake use can make the bike feel unstable. The rear brake is usually smoother for these drills.
This does not mean the front brake is bad.
It means each brake has a job.
For the full explanation, How to Brake Safely on a Motorcycle: Front vs Rear Explained
Exercise 10: Stop Box Practice
Create an imaginary box or use parking lines.
Ride toward the box slowly and stop with your front wheel inside it.
The goal is to stop accurately and calmly.
Focus on:
- Looking ahead
- Smooth braking
- Straight handlebars
- Clutch in near the end
- One foot down calmly
- No last-second panic
This exercise helps you in real situations like traffic lights, junctions, parking spots, fuel stations, and group rides.
Stopping is not just the end of movement.
It is part of control.
A good rider does not only know how to ride smoothly.
They know how to stop smoothly too.
Exercise 11: Walking-Pace Riding
This exercise builds patience.
Ride at walking pace for as long as you can while keeping both feet on the pegs.
Use a little throttle, smooth clutch, and gentle rear brake.
Keep your eyes up.
Do not try to balance by making huge handlebar movements. Small adjustments are enough.
If you need to put a foot down, that is fine. Reset and try again.
This exercise helps with:
- Slow traffic
- Parking lots
- Fuel stations
- Group rides
- Narrow roads
- U-turn setup
- Stop-and-go confidence
The goal is to become comfortable with the bike moving slowly.
Once walking pace feels less scary, many other slow-speed skills become easier.
Exercise 12: Ride, Stop, Turn, Repeat
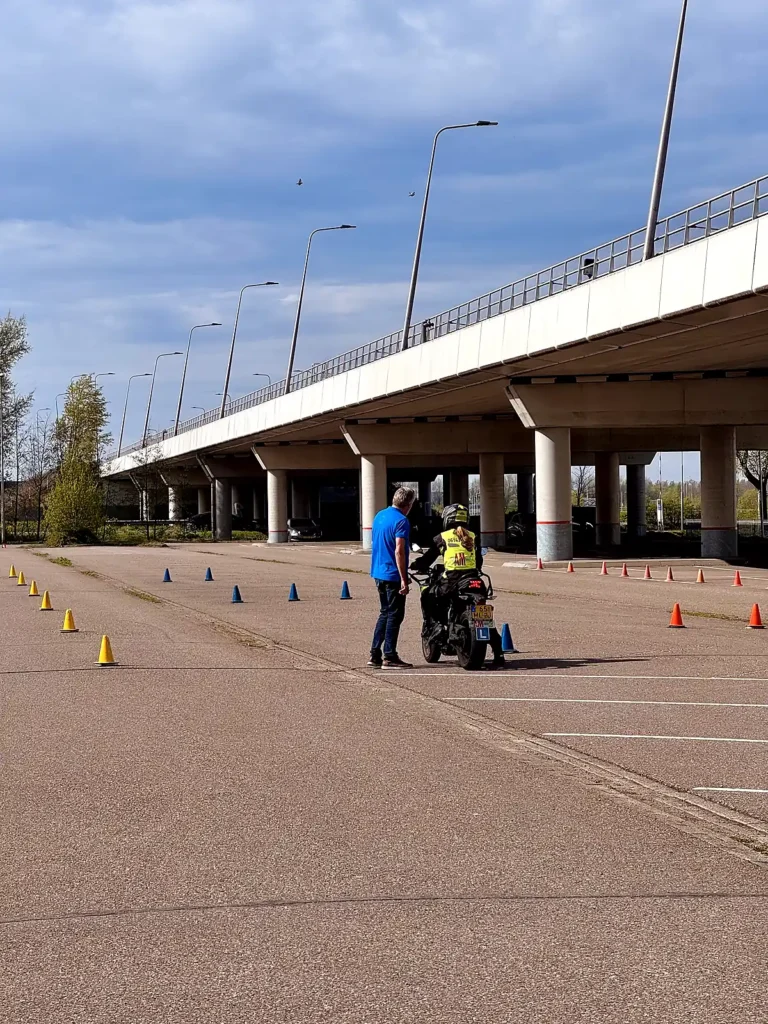
This is a practical real-world drill.
In an empty area:
- Ride forward slowly.
- Stop smoothly.
- Look left or right.
- Start again.
- Make a gentle turn.
- Stop again.
- Repeat in the other direction.
This drill combines several skills:
- Starting
- Stopping
- Looking
- Turning
- Clutch control
- Foot placement
- Rear brake use
- Balance recovery
It feels simple, but it builds real riding confidence.
Many beginner riders struggle not because they cannot do one skill, but because they cannot connect skills smoothly.
This drill helps you connect them.
Ride. Stop. Look. Turn. Reset.
That is real-world riding.
Common Mistakes
Looking Down
Looking down makes balance worse.
Better habit: keep your eyes up and look where you want to go.
Holding the Bars Too Tight
A tight grip makes steering rough.
Better habit: relax your hands and keep your elbows slightly bent.
Releasing the Clutch Too Quickly
This makes the bike lurch or stall.
Better habit: work smoothly in the friction zone.
Using No Rear Brake
Without rear brake control, slow riding can feel unstable.
Better habit: use gentle rear brake pressure during slow drills.
Practicing Too Tight Too Soon
Trying tight U-turns before basic balance is ready creates frustration.
Better habit: start wide and reduce space slowly.
Forgetting to Breathe
Tension builds when you hold your breath.
Better habit: breathe out before starting the drill.
Comparing Yourself to Other Riders
Every rider improves at a different pace.
Better habit: compare today’s control with last week’s control.
Small improvement is enough.
Simple 20-Minute Balance Practice Routine
Use this routine once a week or whenever you want to rebuild confidence.
5 Minutes: Warm-Up
Practice smooth starts, stops, and slow straight-line riding.
Focus on eyes up and relaxed arms.
5 Minutes: Wide Circles
Practice wide circles in both directions.
Focus on head turn and smooth clutch control.
5 Minutes: Figure-Eights
Use large figure-eights.
Focus on looking early and changing direction calmly.
5 Minutes: U-Turns or Stop Box
Choose one final drill.
If you feel confident, practice wide U-turns.
If you feel tired, practice stop box control.
End the session before you get frustrated.
That matters.
You want to finish thinking, “I can do this again,” not “I hate this.”
Consistency beats intensity.
Slow is smooth. Smooth is fast.
Balance Practice Checklist
Before and during your session, ask:
- Am I in a safe empty area?
- Am I wearing proper gear?
- Am I mentally calm enough to practice?
- Are my eyes up?
- Am I looking where I want to go?
- Am I using the clutch friction zone?
- Am I keeping a little steady throttle?
- Am I using the rear brake gently?
- Are my arms relaxed?
- Am I practicing both directions?
- Am I starting wide enough?
- Am I stopping before frustration builds?
This checklist keeps practice simple.
You do not need to master everything today.
You just need to show up and build control one small step at a time.
Final Thoughts: Balance Is Built Slowly
Motorcycle balance is not something you either have or do not have.
It is built.
One slow ride at a time.
One smooth stop at a time.
One wide circle at a time.
One clean U-turn at a time.
One calm practice session at a time.
Do not rush it.
The goal is not to impress anyone in a parking lot. The goal is to feel calmer when the bike slows down in real life.
When balance improves, everything feels easier.
Traffic feels less stressful.
Parking lots feel less awkward.
U-turns feel less scary.
Fuel stops feel calmer.
Group rides feel less pressured.
Your motorcycle feels less like something you are fighting and more like something you are guiding.
That is real progress.
Practice small. Stay patient. Keep your eyes up.
Ride smart. Stay smooth. Come home safe.
Related Reads
Continue building your riding foundation with these guides:
Motorcycle Low-Speed Control Tips: Balance, U-Turns & Slow Riding
Motorcycle Safety Courses: Are They Worth It?
How to Brake Safely on a Motorcycle: Front vs Rear Explained
Motorcycle Vision Techniques: How to Look Through the Corner Correctly
How to Avoid Target Fixation While Riding
Riding in Heavy Traffic: Safety Tips for Urban Motorcyclists