A motorcycle helmet is the most important piece of riding gear you will buy.
But buying a helmet is not just about choosing a brand, colour, graphic, or price.
The fit matters.
A helmet that is too loose can move around when you ride.
A helmet that is too tight can cause pain and distraction.
A helmet that does not match your head shape can create pressure points.
A helmet that feels “okay” in the shop may feel wrong after 30 minutes on the road.
For beginner riders, choosing the right motorcycle helmet size can feel confusing because every brand fits slightly differently. One medium helmet may feel perfect, while another medium from a different brand may feel too tight or too loose.
That is normal.
Helmet sizing is not only about the number on the size chart. It is about head circumference, head shape, cheek pad fit, pressure points, chin strap position, visor visibility, and how the helmet feels after wearing it for a while.
This guide explains how to choose the right motorcycle helmet size in a simple, practical way.
Because the safest helmet is not just the one with the best rating.
It is the one that fits your head properly and that you will actually wear every ride.
If you are still building your overall gear setup, read : Motorcycle Safety Gear Explained: What Each Piece Actually Does.
Quick Answer
How Do You Choose the Right Motorcycle Helmet Size?
To choose the right motorcycle helmet size, measure the circumference of your head with a soft measuring tape, compare it with the helmet brand’s size chart, try the helmet on, check that it feels snug but not painful, make sure the cheek pads hold your face firmly, fasten the chin strap, and test that the helmet does not move independently around your head.
A helmet should feel secure, stable, and evenly fitted.
Not loose, Not painful,
Secure.
Why Helmet Fit Matters So Much
Check : Choosing A Safe Motorcycle Helmet
A motorcycle helmet is designed to protect your head during impact.
But it can only do its job properly if it fits correctly.
If a helmet is too loose, it may move around during normal riding. At higher speeds, it can lift, shift, create wind noise, or distract you. In a crash, a loose helmet may not stay in the best position to protect your head.
If a helmet is too tight, it may cause headaches, forehead pain, pressure points, or distraction. When your gear distracts you, your focus drops. And on a motorcycle, focus is safety.
A good helmet should feel snug and secure without creating sharp pain.
That balance is important.
A lot of beginner riders make one of two mistakes:
They buy a helmet too large because it feels comfortable immediately.
Or they buy a helmet too tight because someone told them helmets should feel extremely tight.
Neither is ideal.
The right helmet should hold your head firmly, but it should not feel like it is crushing your skull.
For a broader reminder of why gear is only one part of safe riding : Motorcycle Safety for Beginners: The Complete Guide to Riding Smart and Staying Alive.
Step 1: Measure Your Head Circumference
The first step is to measure your head.
Use a soft measuring tape. If you do not have one, use a piece of string and then measure the string with a ruler.
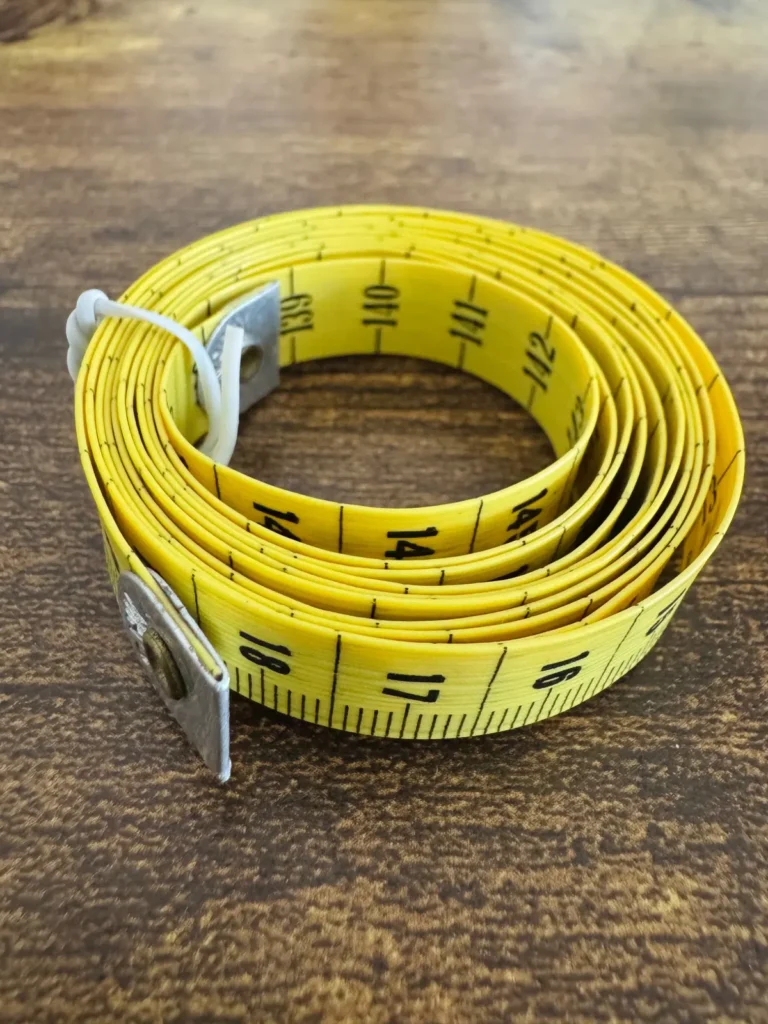
Wrap the tape around the widest part of your head. This is usually just above your eyebrows in the front and around the widest part at the back of your head.
Keep the tape level.
Do not pull it too tight.
Do not leave it loose.
Measure in centimeters if possible because many helmet size charts use centimeters.
It can help to measure two or three times to make sure the number is consistent.
Once you have your measurement, compare it with the size chart for the specific helmet brand and model you are considering.
This part matters:
Do not assume every brand uses the same sizing.
A medium in one brand may not feel like a medium in another brand. Even within the same brand, different helmet models can fit differently.
So always check the size chart for the exact helmet you want.
Step 2: Understand Helmet Size Charts
Helmet size charts usually match head circumference to sizes like XS, S, M, L, XL, and XXL.
For example, a brand may list:
- XS: 53–54 cm
- S: 55–56 cm
- M: 57–58 cm
- L: 59–60 cm
- XL: 61–62 cm
- XXL: 63–64 cm
But this is only an example.
Always check the actual chart for your helmet.
If your measurement is between sizes, do not automatically choose the bigger size. Try both if possible. Sometimes the smaller size may fit correctly after the padding settles slightly. Sometimes the larger size may be better if the smaller one creates painful pressure points.
This is where trying the helmet on becomes important.
The size chart gives you the starting point.
The fit test gives you the answer.
Step 3: Know Your Head Shape
Helmet fit is not only about size.
It is also about shape.
Two riders can have the same head circumference but need different helmets because their head shapes are different.
Common head shapes include:
- Round oval
- Intermediate oval
- Long oval
A round oval head is wider from side to side.
An intermediate oval head is slightly longer front to back.
A long oval head is much longer front to back and narrower side to side.
Many helmets are designed around a certain head shape.
If the helmet shape does not match your head, it may feel wrong even if the size is technically correct.
For example:
If the helmet is too round for your head, you may feel pressure on your forehead.
If the helmet is too narrow, you may feel pressure on the sides of your head.
If the helmet is too long or loose in certain areas, it may shift around.
This is why some riders say, “This brand fits my head better.”
They are often talking about shape, not just size.
As a beginner, you may not know your head shape yet. That is okay. Try different brands and models. Pay attention to where you feel pressure.
Your head will tell you more than the label.
Step 4: Try the Helmet On Properly
When trying on a motorcycle helmet, do not just place it on your head for five seconds and decide.
Put it on properly.
Hold the chin straps apart. Pull the helmet down over your head. It may feel tight going on, especially if the cheek pads are firm. That is normal.
Once it is on, check how it feels.
Ask:
- Is the pressure even around my head?
- Are there sharp pressure points?
- Are my cheeks held firmly?
- Does the helmet sit level?
- Can I see clearly through the eye port?
- Does the helmet move when I shake my head?
- Is the chin strap comfortable when fastened?
- Can I wear this for a full ride without pain?
A new helmet should feel snug.
Your cheeks may feel slightly compressed. Your voice may sound funny when you talk. That is normal.
But pain is not normal.
Sharp pain on the forehead, temples, or skull usually means the helmet shape or size is wrong.
A helmet should feel secure, not punishing.
Step 5: Check the Cheek Pads
Cheek pad fit is one of the most important parts of helmet sizing.
A good helmet should hold your cheeks firmly. When you move the helmet gently, your cheeks should move with it.
Beginner riders often think cheek pads are too tight because they are not used to the feeling. But firm cheek contact is usually normal.
What you do not want is large empty space around your cheeks.
If the cheek pads are too loose, the helmet may move more than it should.
A simple check:
Put the helmet on and fasten the chin strap. Then move the helmet gently from side to side. If the helmet slides around your face without moving your cheeks, it may be too loose.
Your cheeks should feel held.
Not painfully crushed.
Held.
Some helmet brands allow cheek pad changes. This can help fine-tune the fit. But do not use cheek pads to fix a helmet shell that is completely the wrong size or shape.
Fit starts with the right helmet.
Adjustments come after.
Step 6: Check for Pressure Points
Pressure points are one of the biggest signs that a helmet may not fit your head shape.
A pressure point feels like a small area of sharp or uncomfortable pressure. Common areas include:
- Forehead
- Temples
- Top of the skull
- Back of the head
- Sides of the head
- Jaw area
A helmet can feel fine for the first minute and then become painful after 10 or 20 minutes.
That is why you should wear the helmet for longer before deciding.
If possible, keep it on for at least 10–15 minutes in the shop or at home before finalizing the purchase.
Notice whether the pressure stays even or turns into pain.
Even pressure is normal.
Sharp pressure is a warning.
Do not ignore pressure points and assume they will disappear completely. Some padding may settle, but a helmet that causes clear pain from the start may not be the right shape for your head.
Your helmet should protect you without distracting you.
Step 7: Do the Movement Test
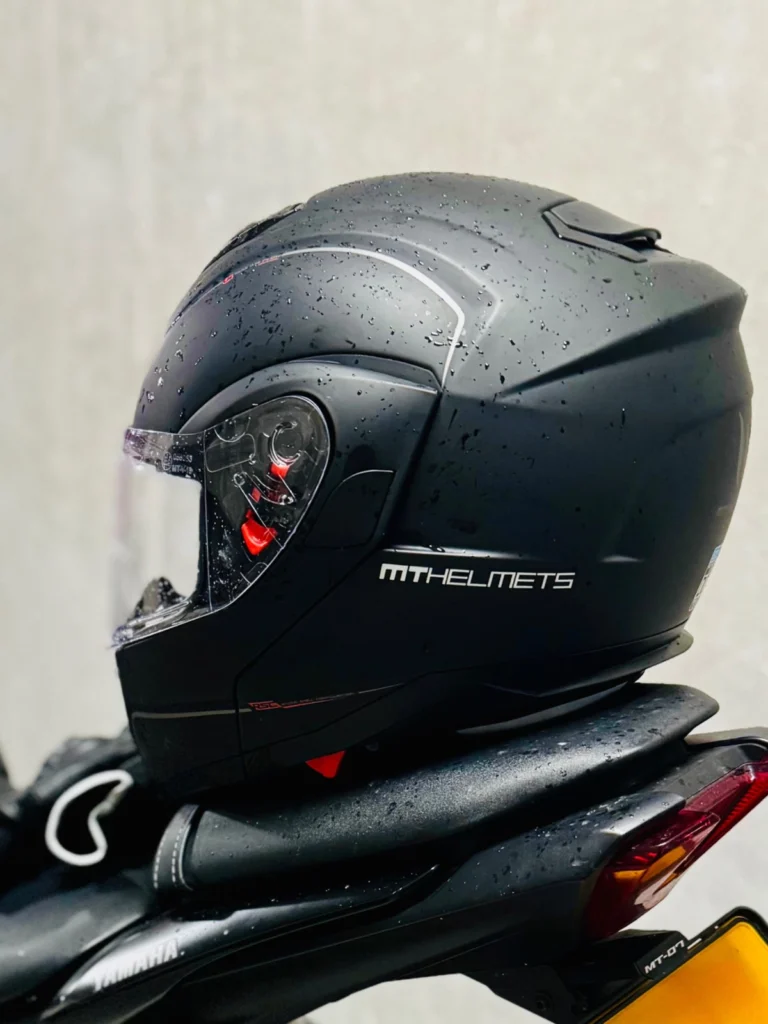
Once the helmet is on and the chin strap is fastened, test movement.
Hold the helmet and gently move it side to side and up and down.
A correctly fitted helmet should move your skin and head slightly with it. It should not slide independently around your skull.
Then shake your head gently.
If the helmet wobbles, shifts, drops over your eyes, or rotates too easily, it may be too large.
Also check whether you can roll the helmet forward or backward too much.
The helmet should stay stable.
This does not mean it should feel glued to your head. But it should feel like one secure piece with you.
If the helmet feels like a loose hat, it is too big.
Step 8: Fasten and Check the Chin Strap
A helmet is not fitted properly until the chin strap is fastened.
The chin strap keeps the helmet secure on your head. If it is too loose, the helmet may not stay in place correctly.
Fasten the strap and tighten it so it feels secure under your chin.
You should not be able to pull the helmet off easily when the strap is fastened.
The strap should not choke you, but it also should not hang loose.
Make sure you understand the closure system your helmet uses. Common systems include double D-ring and quick-release buckles. Both need to be used correctly.
Do not ride with the strap undone.
Do not ride with it loosely fastened.
A good helmet with an open strap is not doing its full job.
Step 9: Check the Helmet Position
The helmet should sit level on your head.
It should not tilt far back.
It should not sit too low over your eyes.
It should not press your nose or chin awkwardly.
It should not block your vision.
When the helmet is positioned correctly, your eyes should sit naturally in the eye port.
You should have a clear view ahead and enough peripheral vision for safe riding.
If you constantly need to adjust the helmet to see properly, the fit may be wrong.
Vision is safety.
For more on how your eyes affect riding control : Motorcycle Vision Techniques
Step 10: Wear It Long Enough Before Deciding
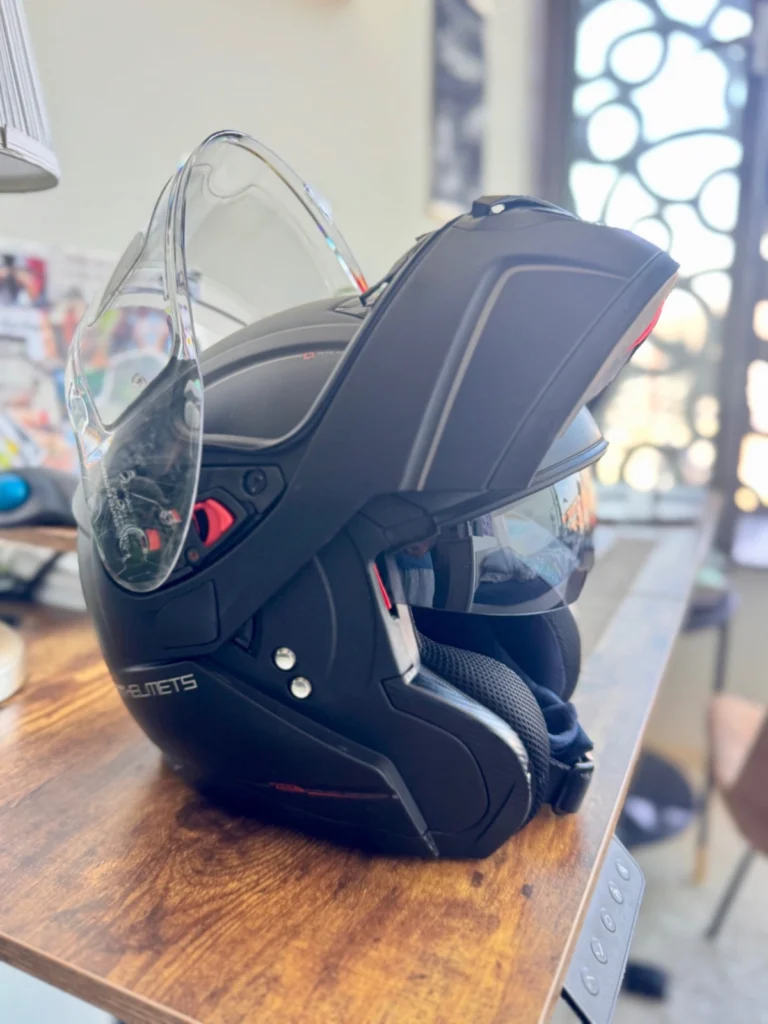
A helmet can fool you in the first 30 seconds.
At first, it may feel fine. Then pressure starts building on your forehead. Or the cheek pads become uncomfortable. Or the helmet feels heavier than expected. Or the chin strap irritates you.
Before deciding, wear the helmet for a little while.
If you are in a shop, ask if you can keep it on for 10–15 minutes. Walk around. Move your head. Put on your glasses if you ride with glasses. Check the visor. Check the strap. Notice pressure.
If you ordered online, try it carefully at home before removing tags or using it outside. Follow the shop’s return policy.
Do not ride in a helmet if you are not sure you can return it.
A proper fit is worth patience.
A helmet is not a small accessory.
It is your head protection.
How Tight Should a Motorcycle Helmet Be?
A motorcycle helmet should be snug enough that it does not move independently on your head, but not so tight that it causes pain or sharp pressure points.
The first time you wear a new helmet, it may feel firmer than expected. That is normal.
The padding may break in slightly over time.
But there is a difference between snug and painful.
Snug feels like:
- Firm contact around the head
- Cheeks held in place
- Helmet moving with your head
- No large gaps
- Secure feeling
Too tight feels like:
- Sharp forehead pain
- Temple pain
- Headache starting quickly
- Jaw pain beyond normal cheek pressure
- Numbness
- Strong pressure in one small area
Too loose feels like:
- Helmet sliding around
- Easy rotation
- Large cheek gaps
- Helmet lifting at speed
- Too much movement when shaking head
- Chin bar moving too close or oddly
The right fit sits between comfort and security.
Not loose comfort.
Secure comfort.
Signs Your Helmet Is Too Big
A helmet that is too big may feel comfortable in the shop, but that comfort can become a safety problem.
Signs your helmet is too big:
- It moves around when you shake your head
- It slides side to side easily
- It lifts at speed
- It drops over your eyes
- You can fit too many fingers between your head and liner
- The cheek pads do not touch your cheeks firmly
- The helmet feels noisy because of extra movement
- The chin strap cannot make it feel secure
- It rotates too easily forward or backward
A helmet that is too large may feel nice because there is no pressure.
But helmets are not supposed to fit like a loose cap.
They are supposed to fit like protective equipment.
If you are choosing between “comfortable but loose” and “snug but not painful,” choose snug.
Signs Your Helmet Is Too Small
A helmet that is too small can also be a problem.
Signs your helmet is too small:
- Sharp pain on the forehead
- Strong temple pressure
- Headache after a short time
- Pain on the top or back of the head
- Jaw pain that feels excessive
- Difficulty putting the helmet on or taking it off beyond normal snugness
- Skin pain rather than simple pressure
- Feeling distracted by discomfort
- Red marks that become painful quickly
Some cheek pressure is normal. Some tightness when new is normal.
Pain is different.
If a helmet hurts in one specific area, it may not be your size or shape.
Do not convince yourself to suffer through a bad fit.
A painful helmet will distract you and make you less likely to wear it.
Helmet Size vs Helmet Shape
This is where many beginners get confused.
A helmet can be the correct size but the wrong shape.
For example, your head measurement may place you in a medium. You try a medium helmet, and it fits your cheeks and overall size, but it creates a painful spot on your forehead.
That does not always mean you need a large.
It may mean the helmet shape does not match your head.
If you go larger, the pressure point may reduce, but the helmet may become too loose everywhere else.
That is not a good solution.
The better solution is to try a different helmet model or brand with a different internal shape.
This is why helmet shopping takes time.
You are not just buying a size.
You are matching a shell, liner, padding, and shape to your head.
Your goal is even pressure.
Not empty gaps.
Not sharp pain.
Even pressure.
Should You Size Up for Comfort?
Usually, no.
Do not automatically size up just because a helmet feels snug.
Many beginner riders choose a larger helmet because it feels more comfortable immediately. But after break-in, it may become too loose.
Helmet padding often settles slightly with use. If the helmet starts too loose, it can become even looser later.
A new helmet should feel snug from the start.
But again, snug does not mean painful.
If the smaller size creates even pressure and firm cheek contact, it may be right. If it creates sharp pain or pressure points, try a different shape or model before simply sizing up.
Comfort matters.
But loose comfort is not the goal.
Protective comfort is the goal.
Try Different Helmet Brands and Models
Do not fall in love with one helmet before checking the fit.
A helmet may look perfect online but fit your head badly.
Different brands and models can feel very different. Some may suit rounder heads. Some may suit longer heads. Some may have firmer cheek pads. Some may sit lower. Some may feel narrow at the temples.
Try multiple options.
If possible, visit a motorcycle gear shop and ask for help. A good shop can check how the helmet sits, whether it moves too much, and whether the pressure points look normal.
This is especially useful for your first helmet.
Once you understand your head shape and size, buying future helmets becomes easier.
But for the first one, do not rush.
A helmet is not the place to guess.
Full-Face, Modular, or Open-Face: Does Size Change?
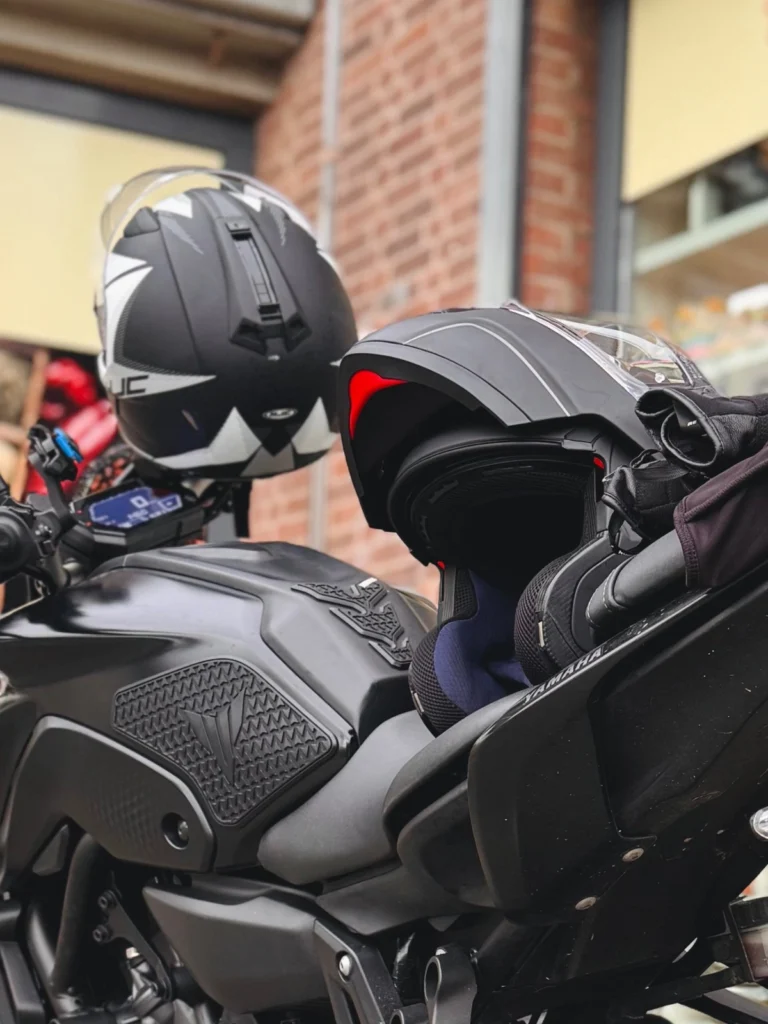
The basic sizing process is similar for different helmet types, but the fit experience can feel different.
Full-Face Helmets
Full-face helmets cover the head, face, and chin area. They often feel more enclosed, but they usually offer the most complete coverage.
For beginner riders, this is often the best starting point.
Modular Helmets
Modular helmets have a chin bar that can lift up. They can be convenient for commuting or touring. Fit still needs to be secure when the chin bar is closed.
Check that the helmet feels stable in normal riding position and that the chin bar mechanism does not distract or create discomfort.
Open-Face Helmets
Open-face helmets leave the chin and face area more exposed. They may feel more comfortable or open, but they provide less coverage.
Whatever helmet type you choose, fit still matters.
The helmet must sit securely, stay stable, and match your head shape.
Check Safety Standards, Not Just Size
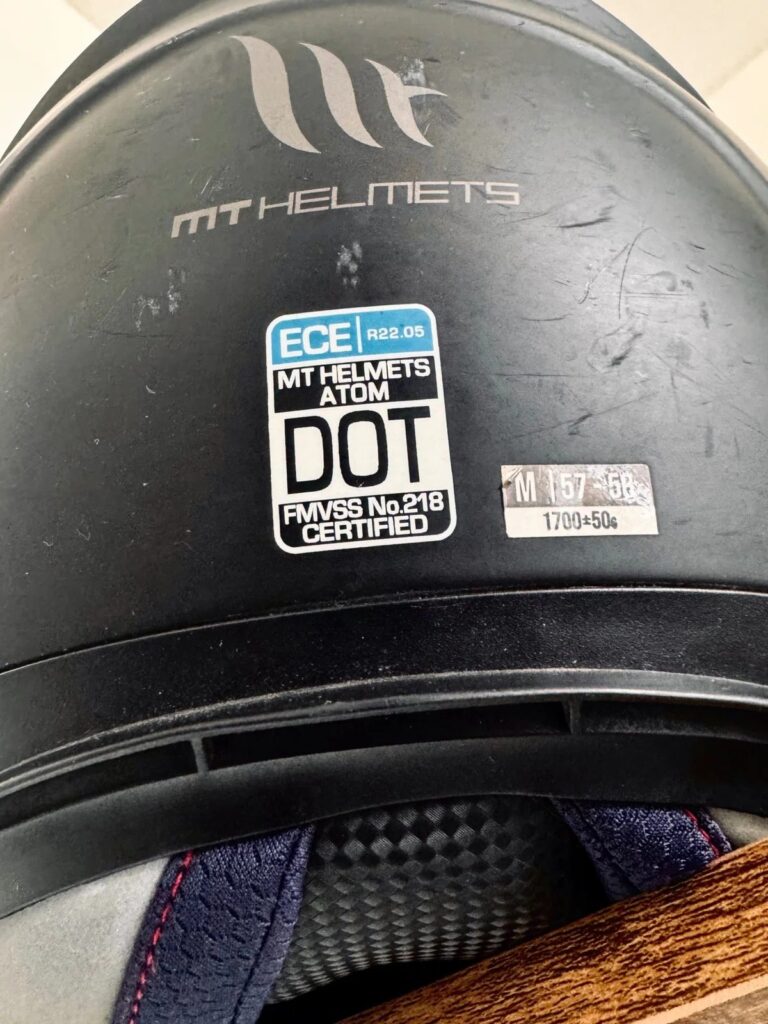
Fit is essential, but safety approval matters too.
When buying a helmet, check that it meets the legal safety standard for your region.
In Europe, look for ECE approval, especially modern ECE 22.06 approved helmets when buying new. Do not buy a helmet only because it looks good or is cheap.
A helmet should be:
- Correctly sized
- Correctly shaped for your head
- Properly fastened
- Legally approved
- Comfortable enough to wear
- Suitable for your riding style
A safety standard does not replace fit.
Fit does not replace a safety standard.
You need both.
What About Used Helmets?
I would be very careful with used helmets.
A used helmet may look fine from the outside, but you may not know its full history. It could have been dropped, crashed, stored badly, modified, or damaged internally.
The protective liner inside a helmet can be compromised without obvious external damage.
For beginner riders, I strongly recommend buying a new helmet from a trusted shop or retailer.
Your helmet protects your head.
This is not the place to save money blindly.
If your budget is limited, buy a new approved helmet that fits correctly rather than a used premium helmet with unknown history.
When Should You Replace a Helmet?
Replace a motorcycle helmet if:
- It has been involved in a crash
- It took a significant impact
- The shell is cracked
- The liner is damaged
- The strap is damaged
- The fit has become loose
- It is very old
- The manufacturer recommends replacement
- It no longer feels secure
Even if a helmet looks fine after a crash, the internal structure may have absorbed impact.
That is its job.
Once it has done that job, it may not protect the same way again.
Do not keep using a helmet that has taken a serious hit.
Your head is worth more than the cost of replacement.
Common Mistakes
Mistake 1: Buying Based Only on Looks
A helmet can look amazing and still fit badly.
Better habit: fit first, style second.
Mistake 2: Choosing a Loose Helmet Because It Feels Comfortable
A loose helmet may feel nice at first, but it can move too much while riding.
Better habit: choose snug and secure, not loose and easy.
Mistake 3: Ignoring Head Shape
If the helmet creates pressure points, the shape may be wrong.
Better habit: try different brands and models.
Mistake 4: Not Fastening the Chin Strap During Fit Check
A helmet fit test is incomplete without the strap fastened.
Better habit: always check fit with the strap secured.
Mistake 5: Wearing the Helmet for Only a Few Seconds
Pressure points may take time to appear.
Better habit: wear the helmet for 10–15 minutes before deciding.
Mistake 6: Assuming All Mediums Fit the Same
Helmet sizing varies between brands and models.
Better habit: check each brand’s size chart.
Mistake 7: Buying Used Without Knowing the History
Used helmets may have hidden damage.
Better habit: buy new from a trusted source when possible.
Mistake 8: Thinking Safety Rating Alone Is Enough
A highly rated helmet still needs to fit your head properly.
Better habit: safety approval plus correct fit.
Beginner Helmet Fit Checklist
Use this checklist when trying a helmet:
- Did I measure my head circumference?
- Did I check the specific brand size chart?
- Does the helmet match my head shape?
- Does it feel snug but not painful?
- Are the cheek pads firm?
- Are there any sharp pressure points?
- Does the helmet sit level?
- Can I see clearly through the visor opening?
- Does the helmet move with my head?
- Does it avoid sliding independently?
- Is the chin strap secure?
- Can I wear it for 10–15 minutes without pain?
- Does it meet the correct safety standard?
- Would I actually wear this every ride?
If the answer is yes, you are much closer to the right helmet.
If the answer is no, keep looking.
Do not rush this decision.
How This Connects With the Rest of Your Riding
Choosing the right helmet size is not separate from riding skill.
A badly fitted helmet can distract you. It can reduce comfort. It can increase wind noise. It can affect visibility. It can make you less focused in traffic, corners, and longer rides.
A properly fitted helmet supports better riding because it lets you focus on the road.
That is why helmet fit connects with many other safety skills.
When riding in the city, visibility and focus matter. Riding in Heavy Traffic: Safety Tips for Urban Motorcyclists
When cornering, your head movement and vision matter. How to Corner Safely on a Motorcycle: Step-by-Step Guide.
When avoiding hazards, your eyes need to move freely and calmly. How to Avoid Target Fixation While Riding.
When braking, comfort and focus help you stay smooth. How to Brake Safely on a Motorcycle: Front vs Rear Explained.
Your helmet is not just something you wear.
It is part of how you ride.
Final Thoughts: The Best Helmet Is the One That Fits You Properly

Choosing the right motorcycle helmet size takes patience.
Do not rush it.
Measure your head.
Check the size chart.
Try different helmets.
Pay attention to head shape.
Check the cheek pads.
Fasten the strap.
Test movement.
Watch for pressure points.
Wear it long enough before deciding.
Choose safety approval and proper fit over looks alone.
The best helmet is not the one your friend wears.
It is not automatically the most expensive one.
It is not the one that looks best on Instagram.
It is not the one that feels loose and comfortable for five seconds.
The best helmet is the one that fits your head securely, protects properly, feels comfortable enough to wear, and lets you focus fully on riding.
Your helmet protects the most important part of you.
Choose it with respect.
Ride smart. Gear up. Come home safe.
FAQs
How do I know my motorcycle helmet size?
Measure the circumference of your head with a soft measuring tape around the widest part of your head, usually just above your eyebrows and around the back of your skull. Then compare that measurement with the specific helmet brand’s size chart.
How tight should a motorcycle helmet be?
A motorcycle helmet should feel snug and secure, but not painful. It should not slide around on your head, but it should not create sharp pressure points or headaches.
Should a new motorcycle helmet feel tight?
Yes, a new helmet should feel snug because the padding may settle slightly over time. But it should not feel painfully tight or create strong pressure in one small area.
Does expensive motorcycle gear mean better protection?
It is safer to buy a new helmet from a trusted retailer because you may not know the full history of a used helmet. A used helmet could have hidden damage from impact or poor storage.
What are signs that a motorcycle helmet is too big?
A helmet may be too big if it moves around when you shake your head, slides side to side, lifts at speed, drops over your eyes, or has loose cheek pads.
What are signs that a motorcycle helmet is too small?
A helmet may be too small if it causes sharp forehead pressure, temple pain, headaches, jaw pain, numbness, or strong discomfort after wearing it for a short time.
Does helmet shape matter?
Yes. Helmet shape matters because two riders with the same head size may need different helmets. A helmet can be the correct size but still fit badly if the internal shape does not match your head.
Continue building your gear and safety foundation with these guides:
Motorcycle Safety Gear Explained: What Each Piece Actually Does
Motorcycle Safety for Beginners: The Complete Guide to Riding Smart and Staying Alive
Top 10 Motorcycle Safety Tips Every Rider Should Know
Motorcycle Vision Techniques: How to Look Through the Corner Correctly
Riding in Heavy Traffic: Safety Tips for Urban Motorcyclists